bootstrapを使ってデザインを整える(パート1)
さあ、今日からはようやっとデザインの部分を作っていこうと思います。デザインといっても、最初からHTMLとCSSをがっつり書くのは大変なので、bootstrapを活用します。bootstrapは言わずもがな簡単にデザイナーが作ったようなおしゃれなデザインが作れるフレームワークみたいなものです。前置きはここまでにして早速導入していきましょう。
bootstrapのセットアップ
Gemfileにbootstrapとjqueryをインストールする。
gem 'bootstrap', '~> 4.3.1'
gem 'jquery-rails', '~> 4.3.1'ファイルを保存したらbundle installを実行する。
Bundler could not find compatible versions for gem "ffi":
  In snapshot (Gemfile.lock):
    ffi (= 1.10.0)

  In Gemfile:
    selenium-webdriver was resolved to 3.141.0, which depends on
      childprocess (~> 0.5) was resolved to 0.9.0, which depends on
        ffi (>= 1.0.11, ~> 1.0)

    listen (< 3.2, >= 3.0.5) was resolved to 3.1.5, which depends on
      rb-inotify (>= 0.9.7, ~> 0.9) was resolved to 0.10.0, which depends on
        ffi (~> 1.0)

    bootstrap (~> 4.3.1) was resolved to 4.3.1, which depends on
      sassc-rails (>= 2.0.0) was resolved to 2.1.0, which depends on
        sassc (>= 2.0) was resolved to 2.0.0, which depends on
          ffi (~> 1.9.6)

Running `bundle update` will rebuild your snapshot from scratch, using only
the gems in your Gemfile, which may resolve the conflict.なんかエラーがでた。。。ググったところgem ffiで解決するらしいが、原因は不明とのこと。。
とりあえずGemfileにffiを入れる。
gem 'ffi', '~> 1.9.6'そしてbundle update ffiしてbundle installしてみた。
Bundle complete! 21 Gemfile dependencies, 85 gems now installed.
Bundled gems are installed into `./vendor/bundle`
お、うまくいった!ということでなんとかgemfileのインストールができた。これでbootstrapを使う準備ができた。
次はapplication.cssのファイル名をapplication.scssに変更していきます。
mv app/assets/stylesheets/application.css app/assets/stylesheets/application.scss ファイル名がscssになっていれば大丈夫です。次にapplication.scssを開きます。
中に記載されている内容は全部削除します。
 * This is a manifest file that'll be compiled into application.css, which will include all the files
 * listed below.
 *
 * Any CSS and SCSS file within this directory, lib/assets/stylesheets, or any plugin's
 * vendor/assets/stylesheets directory can be referenced here using a relative path.
 *
 * You're free to add application-wide styles to this file and they'll appear at the bottom of the
 * compiled file so the styles you add here take precedence over styles defined in any other CSS/SCSS
 * files in this directory. Styles in this file should be added after the last require_* statement.
 * It is generally better to create a new file per style scope.
 *
 *= require_tree .
 *= require_self
 */
削除したら以下を記述してください。
@import "bootstrap";そして、次にapplication.jsに以下を記述します。
//= require jquery3
//= require popper
//= require bootstrap-sprockets
完成形はこんな感じ。
//= require rails-ujs
//= require activestorage
//= require turbolinks
//= require jquery3
//= require popper
//= require bootstrap-sprockets
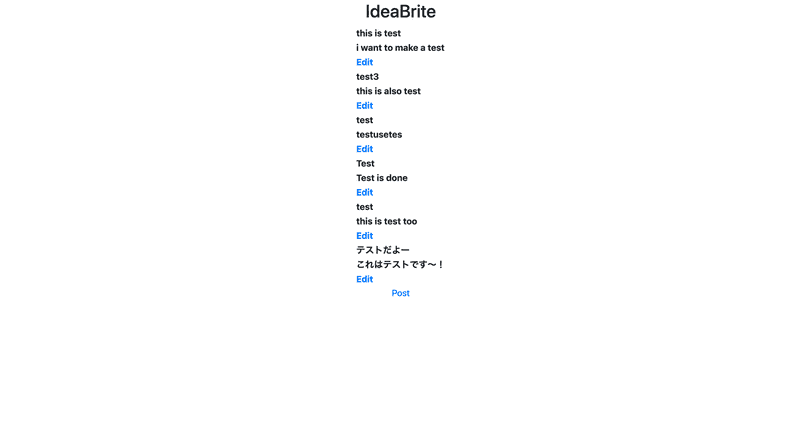
//= require_tree .これでセットアップは完成!ここから必要な内容をviewsの.erbファイルに記述していく。実際にrails serverを立ち上げてみると早速フォントの種類やい大きさが変化した。うまくいったみたい。
まとめ
今回はbootstrapの初期設定を行いました。次からは実際にデザインをいじってそれっぽい見た目を作っていこうと思います。
